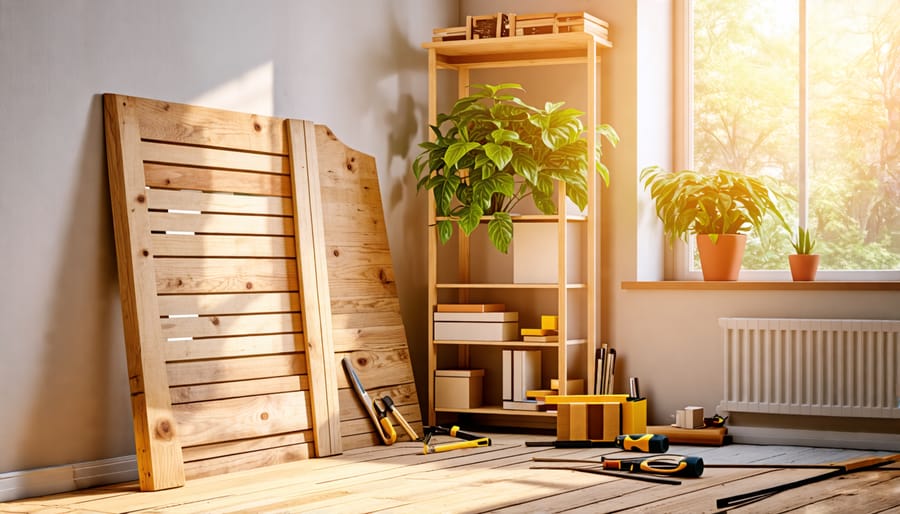
Transform your living space with these beginner-friendly DIY building projects that deliver stunning results. Craft a rustic wooden headboard using reclaimed boards, adding character to your bedroom in just a weekend. Build a stylish, functional bookshelf with basic tools and materials, providing a showcase for your favorite reads. Engage kids in fun engineering games while you assemble a charming window box planter, bringing a pop of greenery to your home’s exterior. With clear instructions and minimal time investment, these projects empower you to enhance your home’s beauty and functionality, one satisfying DIY endeavor at a time.
DIY Built-In Shelving Units
Planning and Design
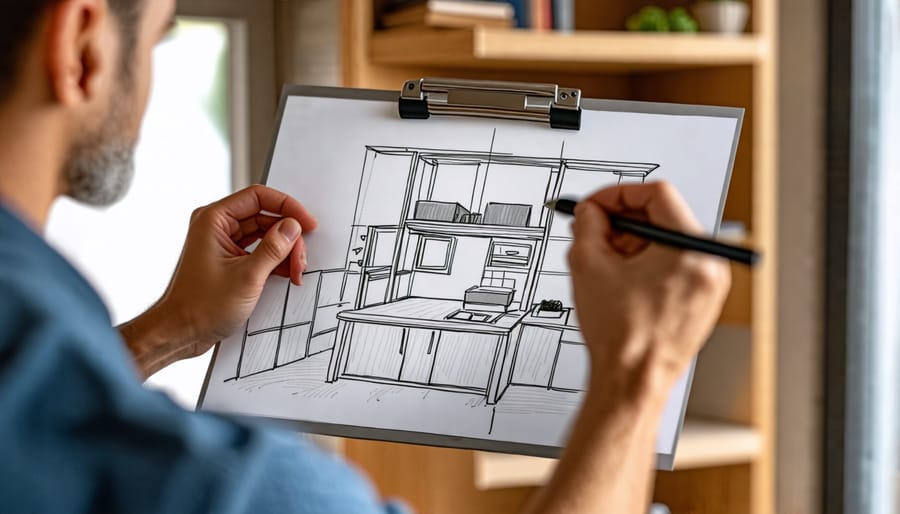
Before starting any DIY building project, careful planning and design are crucial. Measure the space accurately, considering the dimensions of any existing furniture or fixtures. Sketch out your shelf layouts on paper, visualizing how they will fit within the room. When selecting materials, choose high-quality options that suit your budget and the project’s aesthetic. Solid wood, plywood, and MDF are popular choices for shelving. Consider the weight capacity needed and any special features, such as adjustable brackets or built-in lighting. Creating a detailed plan and material list beforehand will help ensure a smooth and successful building process.

Construction and Installation
To construct your shelving unit, begin by carefully measuring and marking the wood according to the provided dimensions. Using a circular saw or handsaw, cut the pieces to size, ensuring straight, clean cuts. Sand any rough edges for a smooth finish. Assemble the frame by attaching the side pieces to the top and bottom using wood glue and screws or nails. Ensure the frame is square and level. Next, attach the back panel to the frame using glue and nails, providing stability. If desired, add decorative trim or molding to the front edges for a polished look.
When installing the shelving unit, choose a wall that can support its weight and contents. Locate the wall studs using a stud finder, and mark their positions. Hold the unit against the wall, ensuring it’s level, and secure it to the studs using appropriate anchors or toggle bolts. For added stability, attach L-brackets to the top corners, securing them to the wall. Finally, load your shelves with books, decor, or storage containers, taking care not to exceed the unit’s weight capacity. With proper construction and installation, your custom shelving unit will provide functional storage and enhance your home’s aesthetic appeal.
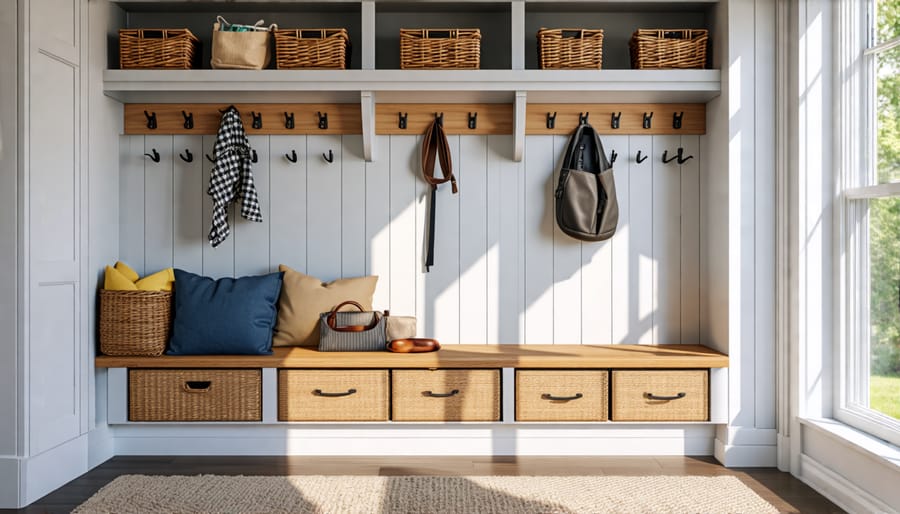
Custom Mudroom Bench and Storage

Bench Frame Construction
To construct a sturdy bench frame, begin by cutting two pieces of 2×4 lumber to the desired length for the bench seat. Next, cut four pieces of 2×4 to the desired height for the bench legs. Attach the legs to the seat boards using 3-inch wood screws, ensuring the legs are perpendicular to the seat. For added stability, cut two pieces of 2×4 to fit between the legs at each end of the bench, and secure them with 3-inch wood screws. Finally, sand the entire frame to ensure a smooth surface and remove any splinters or rough edges.
Adding Storage and Finishing Touches
To maximize storage in your DIY projects, consider incorporating drawers or cubbies. Built-in storage keeps items organized and easily accessible. When applying final finishes, sand surfaces thoroughly for a smooth base. Choose durable, high-quality paints or stains that complement your home’s aesthetic. Apply multiple thin coats for even coverage, allowing adequate drying time between each layer. Protect surfaces with a clear topcoat for added resilience. Invest in quality brushes and rollers for a professional-looking finish. With careful attention to storage and finishing details, your DIY projects will be both functional and visually appealing.
DIY Wooden Headboard
Creating a unique wooden headboard is a rewarding DIY project that can elevate your bedroom’s style. Begin by selecting the right wood for your design, such as reclaimed lumber for a rustic look or smooth hardwood for a polished aesthetic. Consider the size and shape of your headboard, ensuring it complements your bed frame and room dimensions. Sketch out your design, incorporating elements like carved patterns, inlaid tiles, or upholstered sections for added visual interest and comfort. When assembling the headboard, use sturdy wood glue and countersunk screws to create a solid structure. Sand the surface thoroughly to achieve a smooth finish, and apply a protective sealant or paint color that matches your desired look. For an eye-catching accent, experiment with techniques like distressing, staining, or creating a multi-toned wood finish. Securely attach the completed headboard to your bed frame or wall, ensuring it is level and stable. With careful planning and execution, your handcrafted wooden headboard will become a stunning focal point in your bedroom, showcasing your creativity and woodworking skills.
Simple Bathroom Vanity Upgrade
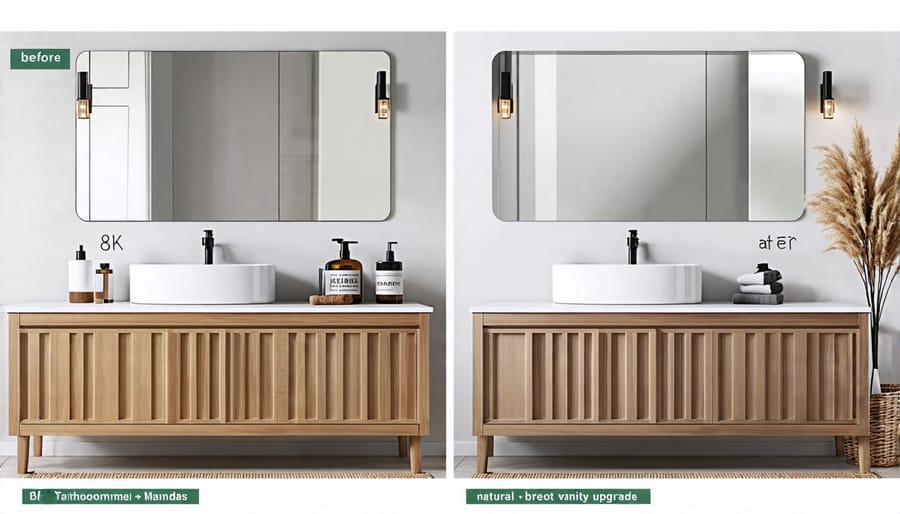
Updating your bathroom vanity can be a simple and cost-effective way to give your space a fresh look. Start by removing the existing doors and drawer fronts, then sand and paint or stain them for a new finish. Replace old hardware with modern handles and pulls to instantly elevate the style. For a more dramatic transformation, consider installing a new countertop. Measure your existing vanity top and select a pre-cut countertop from your local home improvement store, or have one custom-made to fit. Make sure to choose a durable, water-resistant material like quartz or granite.
Supplies needed include:
– Sandpaper
– Paint or stain
– Paintbrush or roller
– New hardware (handles and pulls)
– Pre-cut countertop or custom-cut material
– Silicone caulk
– Screwdriver
– Drill (if needed for hardware installation)
To install the new countertop, first remove the old one by unscrewing it from the base. If your new countertop has pre-drilled holes for the sink and faucet, place it on the vanity and secure it with silicone caulk. If not, carefully measure and mark the placement of your sink and faucet, then cut the holes using a jigsaw or hire a professional to do so. Install your sink and faucet according to the manufacturer’s instructions.
As a bonus tip, consider upgrading your vanity lighting to boost energy efficiency and enhance the overall ambiance of your bathroom. With these simple updates, you can transform your bathroom vanity and create a space you’ll love for years to come.

Rustic Wooden Picture Frames
Reclaimed wood adds character and charm to personalized, rustic picture frames. To create your own, start by selecting weathered boards and cutting them to the desired dimensions using a miter saw. For a professional look, make 45-degree cuts at each end to form mitered corners. Sand the wood to smooth any rough edges while preserving its rustic texture. Assemble the frame by applying wood glue to the mitered ends and securing them with a nail gun or small finish nails. Allow the glue to dry completely before attaching a backing board and hanging hardware. These easy DIY construction projects make thoughtful, one-of-a-kind gifts or add a personal touch to your home décor. Experiment with different wood types, stains, and finishes to create a variety of styles. For a distressed look, gently sand the edges and faces of the frame after assembly. Seal the wood with a clear topcoat to protect it from moisture and enhance its natural grain. With a little creativity and basic woodworking skills, you can craft beautiful, custom picture frames that showcase your cherished memories in a uniquely rustic way.
Conclusion
Embarking on DIY home building projects offers a sense of accomplishment, cost savings, and the opportunity to customize your living space to suit your unique needs and style. By tackling any of the projects presented in this article, you can improve your home’s functionality, aesthetics, and value while developing valuable skills and knowledge. Remember to start with a project that aligns with your current abilities and resources, and don’t hesitate to seek guidance from experienced DIYers or professionals when needed.
As you gain confidence and experience, you may find yourself eager to take on more challenging projects. Countless resources are available online, including DIY forums, video tutorials, and project galleries, to provide further inspiration and technical guidance. By embracing the DIY spirit and continuously learning, you’ll soon discover the immense satisfaction that comes with transforming your home through your own hands. So, gather your tools, select your first project, and embark on your DIY home building journey today!

